
Even when I was younger and dating the wrong people, I always knew that there were certain qualities my future husband would have to have - patience, humour, intelligence, loyalty, the list goes on (what? I'm picky.) - but one thing I did not ever consider was a husband who would make macarons. It's not exactly deal-breaker material, but it has caught me by surprise... and all those around him, too. E has always loved cooking, but this is a whole other ball game and he is just crazy enough to enjoy doing it.
This post isn't to give you a recipe for how to make his macarons - that can be found in this book - but more of a "tips & tricks" from someone who has experienced the highs and lows of macaron making. I asked him to list the things that have gone wrong for him in the past and how to solve the problem, and key things that are not necessarily mentioned in the book that he has learnt from other sources.
So, if any of you are as crazy (read = enviably patient and passionate about gourmet cooking & baking) as he is, you might find this interesting, and maybe even helpful.


Maracon making tips & tricks
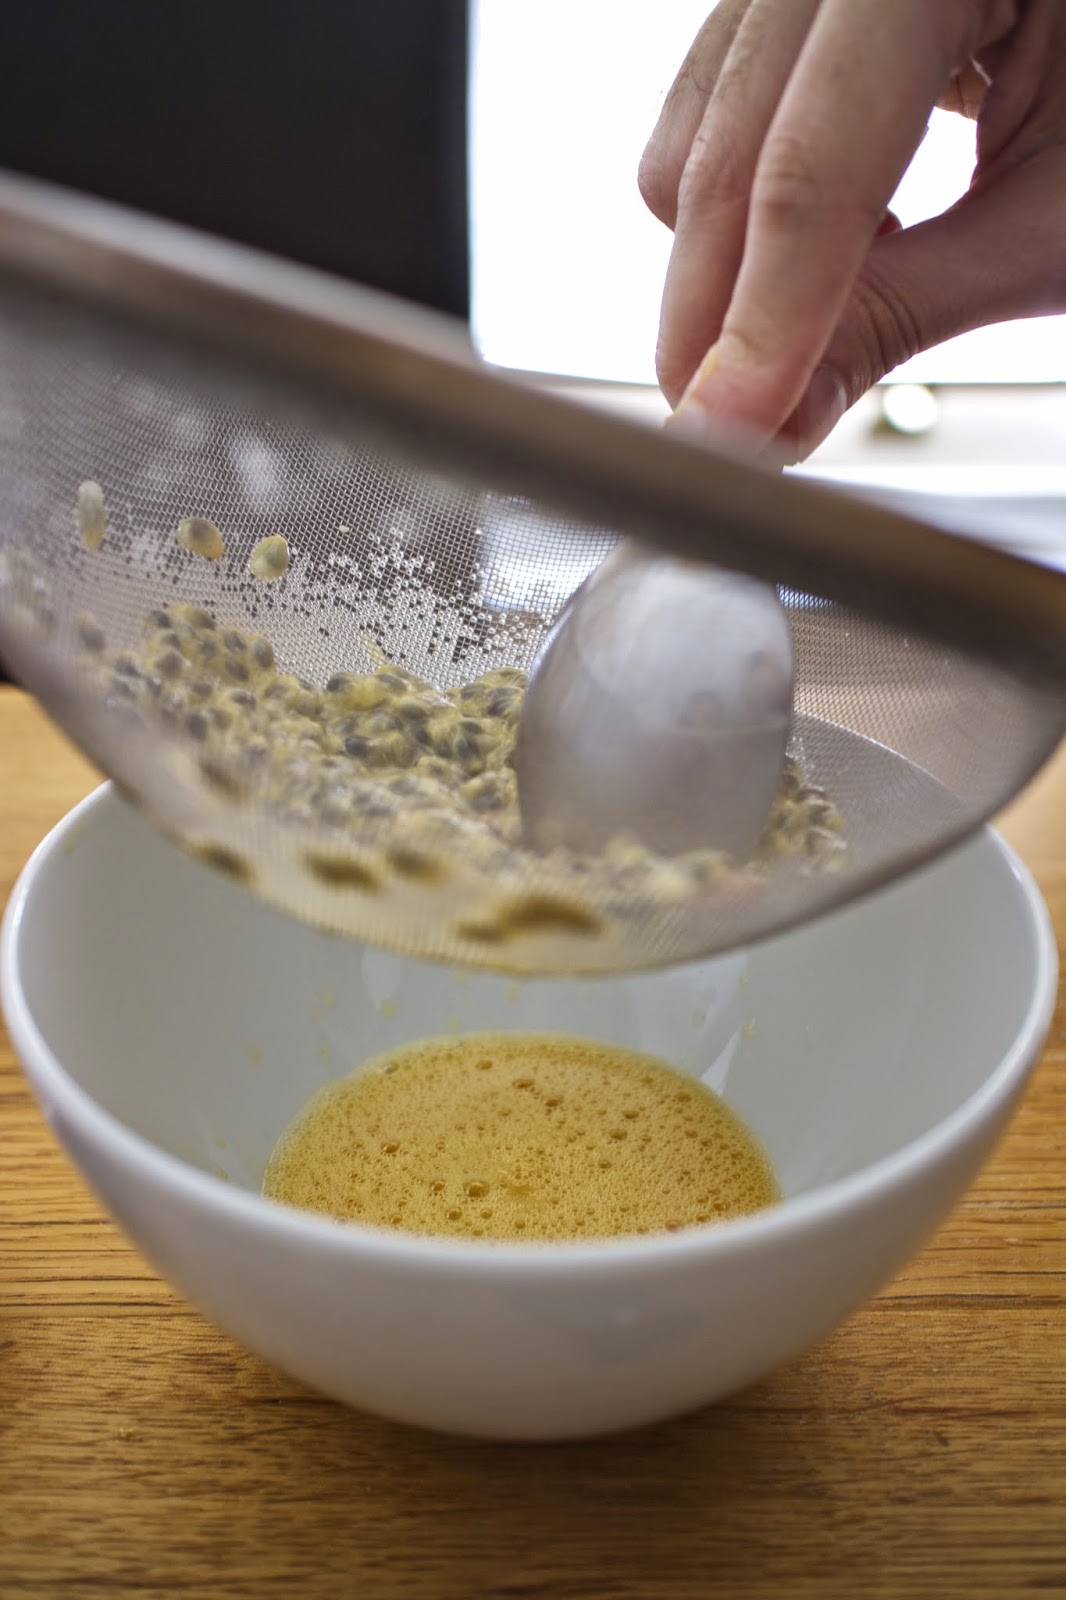
- Sieve everything for the dry shell mix, to make sure the batter is as smooth as possible.
- Rest the egg whites for the shells for 4 days if possible (in the fridge), 2 days minimum.
- Getting the colouring right will take a bit of trial and error, depending on the brand etc. It's important to get the weight as accurate as possible.
- When whipping the meringue with an electric mixer, make sure to whip on low speed while adding the sugar syrup so the syrup stays warm for longer and makes meringue firmer.
- When folding in the meringue to make the shell batter, make sure to get the perfect consistency (overmix - too runny, undermix - too stiff). When you get a spoonful and raise the spoon, the mixture should drop in a ribbon (not in lumps) but shouldn't be too liquid-y.
- Use a template under baking sheet when piping the shells, to make sure the sizes are all equal. Keep the nozzle straight while piping!
- Once you've piped, tap the baking sheet 3 times quite strongly, to make sure any air comes out.
- Very important step, is to leave the piped shells to dry. If the air is dry, 30-45mins, if it's humid, 1h30mins to 2 hours.
- How to tell if it's dried enough: the surface will look matte, and you should be able to run your finger over it and not drag the mixture.
- Every oven is different (E uses an oven thermometer), but on average, the baking of the shells should be at about 160C for 12 minutes.
- To check if they're baked: they should be firm at the "feet" of the shell when pressed down gently.
- Press down the centre of the shell to make a dip, allowing for more filling.
- Wait at least 24h (or even better, 48h) before eating, always at room temperature. They also freeze very well.

No comments:
Post a Comment
Thank you for visiting and commenting! I'd love to hear from you.