Showing posts with label baking. Show all posts

e cooks :: cherry clafoutis

11 April 2015

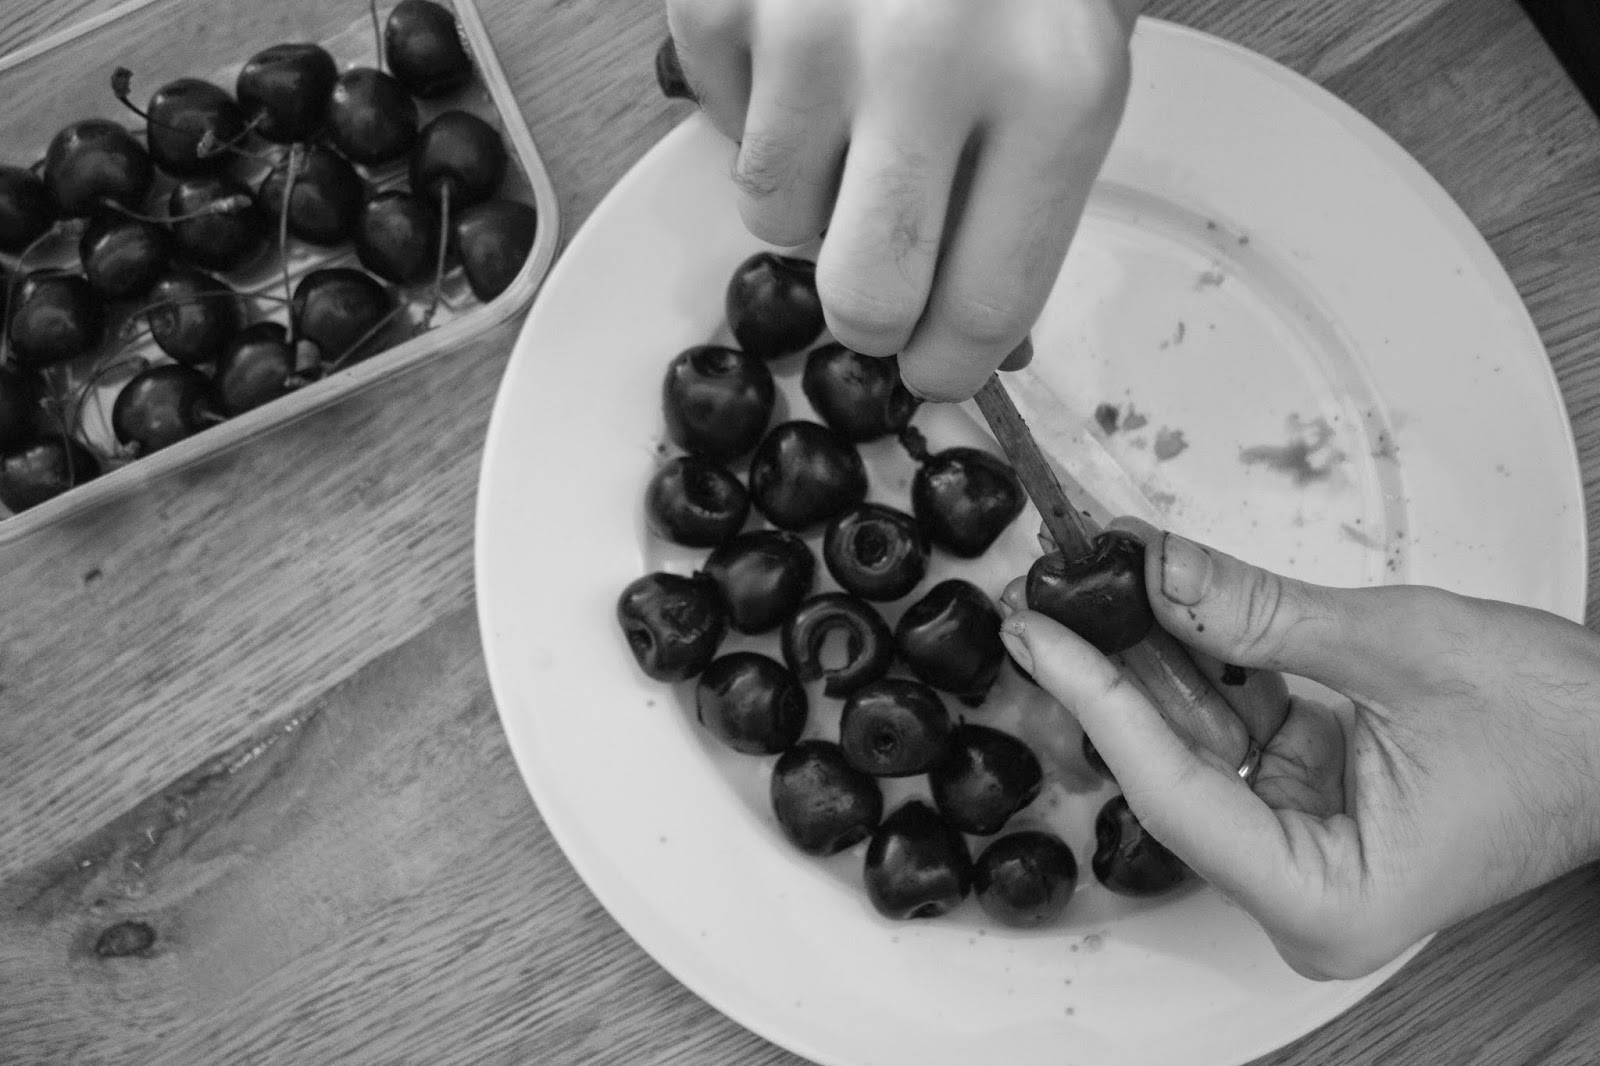
If you've been around for a while, you might remember the Strawberry Clafoutis that I made last year.  I mentioned back then that E was asking me to make the classic cherry version next time... and here we are, one year later, and he's had to make it himself. Oops.

This is a much richer, more authentic Clafoutis, and I have to admit - better than the one I made! For E, this is a dessert that takes him back to his childhood in sunny South of France. To me, it's one that simply goes perfectly well with coffee, and the kind of dessert that I generally prefer over a classic sponge cake.

Bake it in a beautiful dish like this one (an Anthropologie gift from a friend, it's gorgeous), enjoy it in the sunshine (London is getting a good dose of that lately!), and you'll feel positively Provençal. 

I love how food can transport you back in time, and gives the term "comfort food" its true meaning. Do you have a dessert that takes you back and reminds you of happy memories?


Cherry Clafoutis

Ingredients:
350g cherries (de-stoned)
170g sugar
120ml whole milk
120ml double cream
4 eggs
30g plain flour
30g ground almonds, sieved
40g butter cut into little pieces & some extra for buttering the dish
icing sugar (optional)

To make:
1) Preheat oven to 190C. Heat milk and cream in a pan on low heat. 
2) Break the eggs into a bowl with 150g of the sugar, whisk together but not too much (just enough to combine). 3) Add flour and ground almonds and whisk together. When cream/milk comes to a boil, pour a little into egg mixture and whisk well. Then carry on pouring the rest gradually. Set aside to cool and stir every so often. 
4) Butter the tart dish. Dust the rest of sugar (20g) over the base of buttered tart dish, and place the cherries. 
5) Pour the clafoutis batter carefully, and bake in the oven for 40 minutes. After the first 10min, put the little pieces of butter over the top. Put back in the oven. Lower the setting to 180c after 20 mins.
6) Once cooked, set aside to cool slightly. Dust with icing sugar and serve when still warm (but leftovers are delicious too!).


red velvet truffles

13 February 2015

I know that Valentine's day is supposed to be a Marmite-type thing and you either love it or loathe it, but I've always been fairly indifferent to the whole hoopla. I remember a couple of times nearer the beginning of our relationship when E and I did something special for the occasion, but for the most part it's been a date that's just a date. Oh, except last year was the most exciting, because the new season of House of Cards came out that day. Only a couple of weeks to go until Season 3!

Back to the topic at hand.

This year, the only outing on the agenda is brunch with 2 of my favourite girls (in fact, I seem to have a tradition of always seeing friends on V day) - I'll spend the rest of the day doing some work, my husband will cook us a delicious dinner, and we'll have the quiet, relaxing evening I've been craving all week. So really, nothing fancy at all.

However, I did make a little something that I thought would be appropriate for those who like to celebrate this heart-shaped day, and equally for those who do not but want to make a treat for themselves or for others. Yes, red food colouring is involved, but don't write me off as a V day cliché just yet! Because red velvet cake is a beauty all year round, isn't it?

These are far from being an original idea - google it and it'll give you tons of different recipes. I thought it looked fun, quite easy, and something different, so I gave it ago and I'm pleased with the results.

How can I not be, though? It's cake & icing, smushed together and covered in chocolate. Surely you can't go too wrong? 


Red velvet truffles (makes about 40 small truffles) (based on this recipe)

Ingredients:
{for the cake}
2/3 cup plus 2 tbsp plain flour
1/4 tsp baking powder
1/4 tsp salt
1/2 cup unsalted butter, melted
1/2 cup granulated sugar
1/4 cup buttermilk
2 egg whites
2 tsp red food colouring
1/2 tsp vanilla extract
1/4 tsp white wine vinegar
{for the icing}
180g full fat cream cheese
1 cup icing sugar
{for covering}
300g dark, milk or white chocolate 
sprinkles for decoration, optional

To make:
1) Preheat the oven to 170 degrees celsius. 
2) Sieve and combine the dry ingredients for the cake.
3) Beat together the wet ingredients with an electric whisk.
4) Gently fold the dry mixture into the wet mixture, and pour into a greased cake pan (small-medium size).
5) Bake for 30-40 minutes, depending on your oven, until a toothpick comes out clean.
6) Mix the cream cheese and icing sugar to form an icing.
7) Once the cake is baked and cooled, crumble the mixture into the icing and mix with your hands until everything is combined.
8) Roll the mixture into small truffle-sized balls, and refrigerate for 30 minutes to 1 hour.
9) Heat the chocolate in the microwave for a couple of minutes or until it's melted. Roll each truffle in the melted chocolate, and place them on baking paper. Add any sprinkles whilst the chocolate is still melted.
10) Place the whole lot in the freezer for 10-15 minutes or the fridge for a little longer, for the chocolate to become solid again.
11) Give them to people you love (or at least really, really like), or eat them yourself in PJs, watching Netflix. 


sea salt caramel brownies

28 March 2014

Unfortunately, you read that right.

This is lethal stuff, so proceed at your own peril.

Everyone has a favourite brownie recipe, right? Mine is a special secret family one that I was passed on as an honorary member. 

It's a foolproof recipe, needs nothing extra and it's perfect as is.

But I somehow caught the uncontrollable urge to dirty it up a little. 

You can do this with any brownie recipe of your choosing, if you can handle it…

1. Make salted caramel. I used the recipe from Smitten Kitchen, and let it firm in the fridge overnight.
2. Chop them up into small chunks.
3. Prepare the brownie batter.
4. Spread the caramel pieces on top of the batter (I also mixed a little into the batter, but next time I wouldn't as some of them didn't melt completely).
5. Bake as usual.
6. Unbutton your jeans and go to town.


It's certainly not for the faint-hearted, but who wants to play it safe?

Life's too short. Get to the kitchen!

dark chocolate & walnut biscotti

13 January 2014

I'm neither on a new year diet nor doing a dry January, but I am always up for healthy alternatives that don't sacrifice taste. So I tried my hand at something semi-virtuous that I could nibble on with a cup of coffee - wholewheat biscotti.

Biscotti is generally a lighter snack, considering their lack of butter or any other added fat, but they are normally also made with almonds. Although I like the original taste, nothing quite goes as well together as chocolate and coffee…

and so, I made mine with dark chocolate chips, and walnut pieces for the nut factor.

After preheating the oven to 160 degrees celsius, I first mixed the dry ingredients together - 2 cups wholewheat spelt flour, 1.5 tsp baking powder, half a cup of walnut pieces, 100g dark choc chips, 3/4 cup brown sugar, and a pinch of sea salt.


Then I directly cracked 3 large eggs into the mix, and added 2-3 tsp vanilla extract.


The mixture is pretty sticky at this point, but I made them into fat log shapes and baked for 30 minutes.


After they cooled completely, I cut them into thin slices and baked again for about 15 minutes, flipping halfway.


Fresh out of the oven, paired with a nice strong espresso, it was a nice little pick me up on a weekend afternoon.


So easy, one bowl to wash up, pretty healthy to boot. Winter baking is full of perks.

guinness & chocolate cake

20 November 2013


On the weekend, we had some friends over for dinner and I made a Mexican feast of Guacamole, Enchiladas & Mexican street salad. As I was the chef, I snapped absolutely no photos of the dinner as I had my hands full! But we had an absolutely fantastic evening full of food, conversation & hilarious fun with Absolute Balderdash & Taboo.

I did, however, take a few photos of the dessert that I made in the morning.

Quite aptly, I was introduced to this recipe by my lovely Irish friend. Neither of us like beer, but she reassured me that the taste of the Guinness isn't detectable; it just makes the cake moist, black and very moreish. (Along with another friend, we once went on the Guinness factory tour, and turned down the pints we get for free at the end!)

Trust me on this one. It's easy to make, a little different to the traditional chocolate cake, and actually looks like a pint of Guinness with the black cake and frothy white top. Recipe here.

Oh, and there is cream cheese frosting. Enough said.